Random Winner Game – MEL3E Day 6

I’ve decided to spread some skills (expectations) around as warm ups. Today our warm up involved pay schedules.screen-shot-2016-09-13-at-11-52-17-am

They highlighted every two weeks on their sheet to indicate pay days…..and seeing which months had 3 payments allowed us to have a short discussion on making budgets around our pay cheques.

We picked up where we left off from yesterday’s practice sheet with percent. We talked again about different ways to get paid, including an example of getting paid by commission. I brought in the random winner game to give a little more excitement to just practicing. I usually use the Smartboard and sticky notes but this always ends up with a huge waste of expensive stickies. This time I re-used the 100 grid from the Explain Everything file from yesterday.


 I assigned each person a colour (I only have 13 students—-otherwise assign each pair a colour). Each time they get their question checked by me and it’s correct they earn a tile. If it’s incorrect give them some feedback and ask to try again. WHEN correct they go to the iPad and randomly choose one of the squares to cover. At the end of class we randomly chose one of the squares….and whoever is covering that square is the winner!

Now since we’re dealing with teenagers…..this excited some of my students and for others……not so much. Although one student didn’t want to place any tiles on the grid she still had all her answers checked by me for feedback.

Tomorrow will be our first mastery day. We’ll spend the day working on skills from the week plus a quiz.

Grab the Explain Everything File 

It begins! [Day 1]

So….let’s do this! Day 1 is done!

This semester I’m teaching grade 9 applied period 1, MEL3E (grade 11 workplace) period 2, and MHF4U (Advanced Functions) period 3. I haven’t decided yet which course yet to blog about consistently, but I’m planning on picking either MEL3E or MHF4U; which would you like to read about more? I will be spiralling both of these courses for the first time and I’m pretty excited about it. Here’s how day 1 looked:

MHF4U

After grabbing a playing card to determine who their partner and where their seat would be… I did a 5 min talk on my strong beliefs around curiosity, growth and team work we did a couple activities — No talk on course outline, marks, or rules:
Activity 1: Math is Like…. 

I ask students to fill in the statement “Math is like…” I love the variety of statements that come out of this. Backgrounds and experiences play a huge part and they shine here. I have them read their statement to their partner and then take volunteers to read to the big group! I also read some of the grade 9 responses out loud to the seniors….which they find hilarious!

Activity 2: Graph Your Subjects

I saw this tweet a few weeks ago from Jen McAleer.


Here are a few of our pictures:

IMG_1985

IMG_1984

IMG_1982

Activity 3: Pyramid of Pennies
I showed them the Pyramid of Pennies 3-act math problem from Dan Meyer. They wrote noticings and wonderings.

Then using the vertical non-permanent surfaces (VNPS) around the room they worked on solving the problem of How much money is that?

IMG_1981

IMG_1980

IMG_1978

After taking this problem up and discussing that a they’ll be working together vertically to solve problems daily I assigned some review questions for homework.

You can follow my day to day on this spread sheet which I’ll update as we go through the course.

MEL3E

This class ran through the same activities as MHF4U except for some minor differences: In activity 2 they did a warm up graph with placing Dad, Daughter, and Granny on Height vs. age graph. We reviewed what a point would look like for a baby, and for Michael Jordan. After getting the hang of placing points on the graph they graphed their subjects just like the grade 12s.

IMG_1977

In activity 3 they noticed and wondered about the Pennies. They made estimates on too high, too low for the number of pennies. I then revealed the answer.
You can follow my day to day on that course here.

Which would you rather read about in the future? The grade 11 workplace? or the grade 12 advanced functions? Help me make a decision!

Double Clothesline – Solving Equations

I have always taught solving 2-step linear equations by starting with a balance scale. Having students whittle their way down to see how many marbles were in each bag was always a win for me…..in most cases.

Screen Shot 2016-05-16 at 10.45.52 AM

I valued this approach. It’s easy to visualize and it strengthens the “whatever you do to one side of an equation you do to the other” mantra we tell students when solving . However, I’ve always been left wanting more especially when we introduce solving equations with negative coefficients or even when the solution is a negative value. The balance scale kinda loses it’s effectiveness.

Using algebra tiles help fill this hole. And now…. thanks to Andrew Stadel, double clotheslines.

I was lucky enough to attend Andrew’s NCTM Annual session on Error Analysis this year. In his session he demonstrated how to use a double clothesline to solve equations. I later found this resource on his site. Watch his videos on how to use the clotheslines….they helped me piece this lesson together. Stop now and go and watch Andrew’s video on solving two step equations.

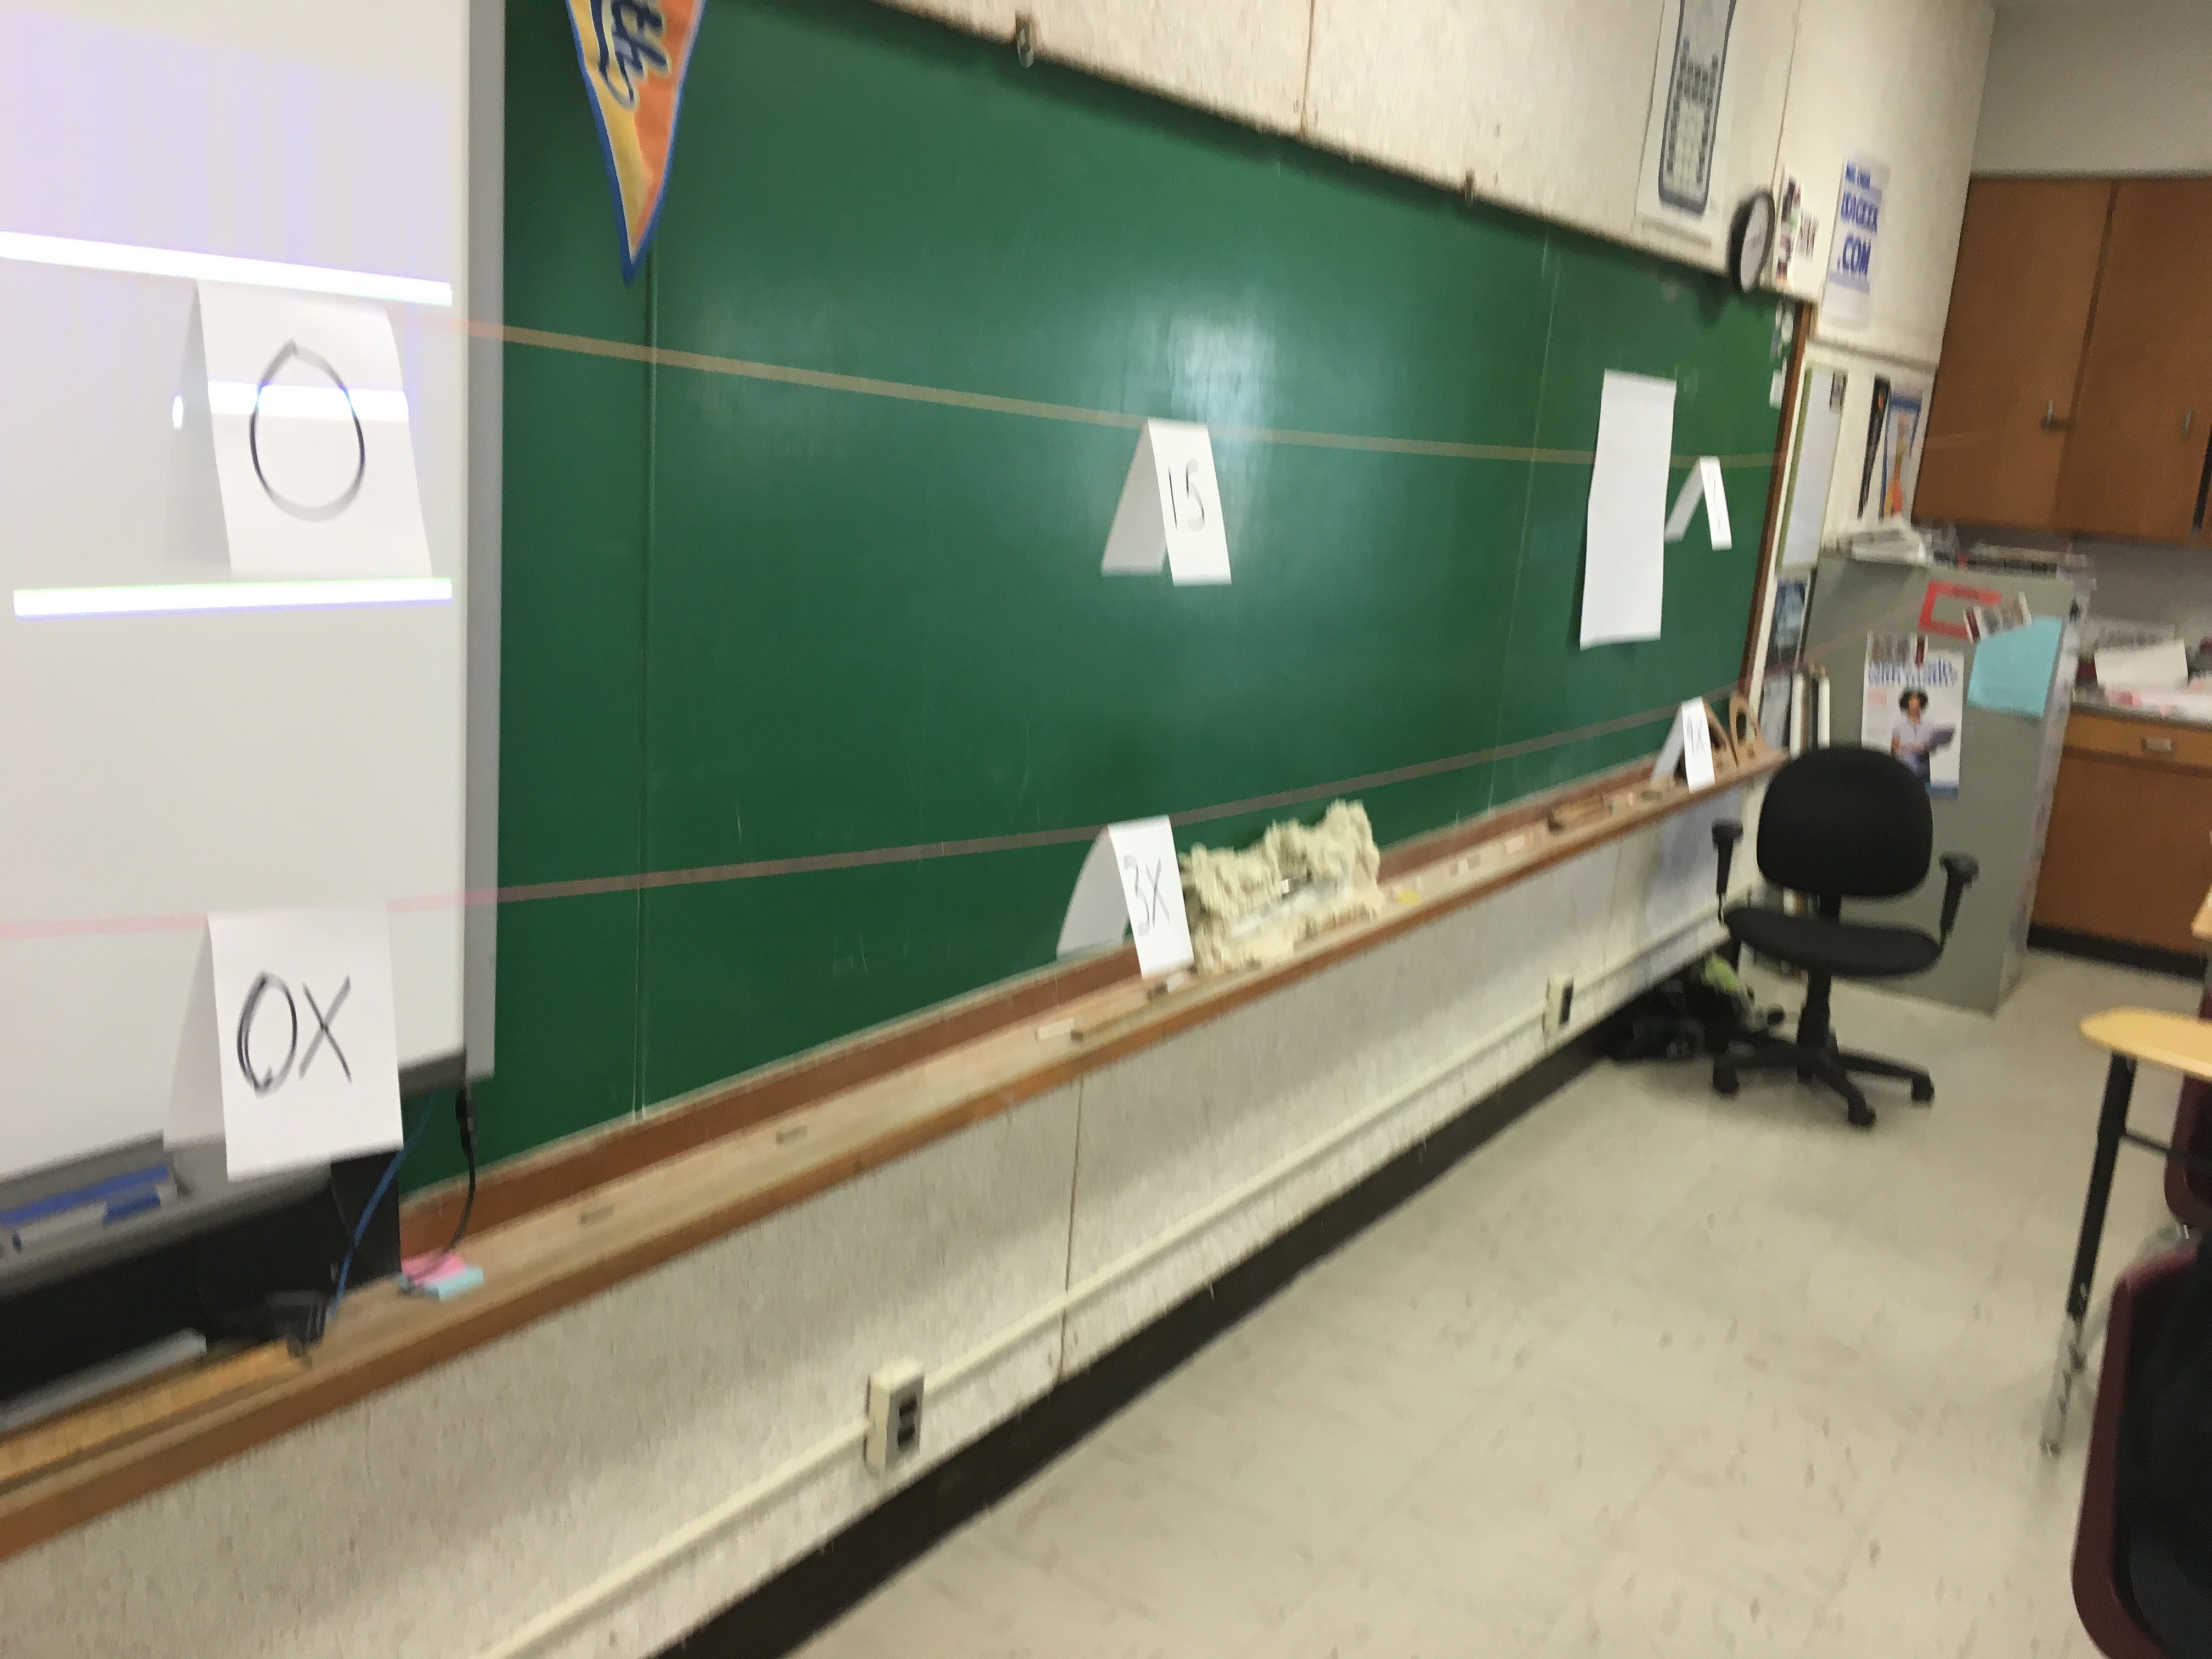
I stared as Andrew did at the NCTM session:

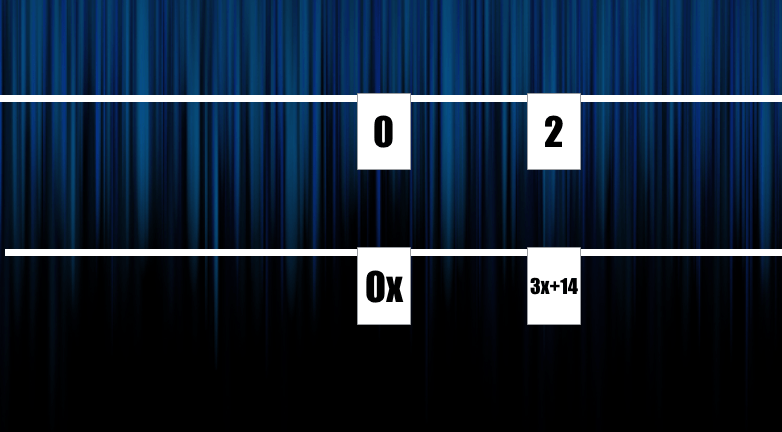
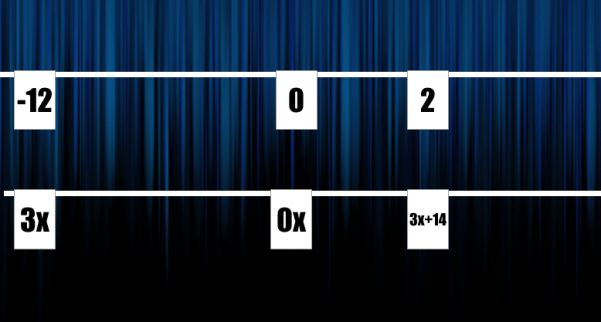
I put 0 on the top line and 0x on the bottom line.

Screen Shot 2016-05-16 at 12.09.30 PM

I then held up the 3x card and asked where should this go? I asked if it should go on the left or the right of zero. The students overwhelming said it needed to go on the right. “3x is more than x, so it should go more to the right, just like a number line” (Always — Sometimes — Never was going through my head at this moment but i’ll wait to talk about this with the kids until a bit later in the lesson).  Screen Shot 2016-05-16 at 12.18.16 PM

I then said “I’m going to place this 15 right above the 3x and that means equivalence. 3x is the same as 15”

Where should 9x go? You could see the some students spacing out where 9x should go. This is what I love about this method. It’s so visual and we’re forced to always think about how terms relate to each other.

I want to know what number should be above 9x. I had them draw the number lines on their desks and let them work on determining the value of 9x.

Screen Shot 2016-05-16 at 12.09.48 PM

IMG_1158

Going around the room there were a few different types of solutions. Some students said, “3 times 3x is 9x, so 3 times 15 is 45”

Some students said, “If 3x is 15 one x is 5, so 9x is 45.” Nice. We ensured the whole class understood both of these types.

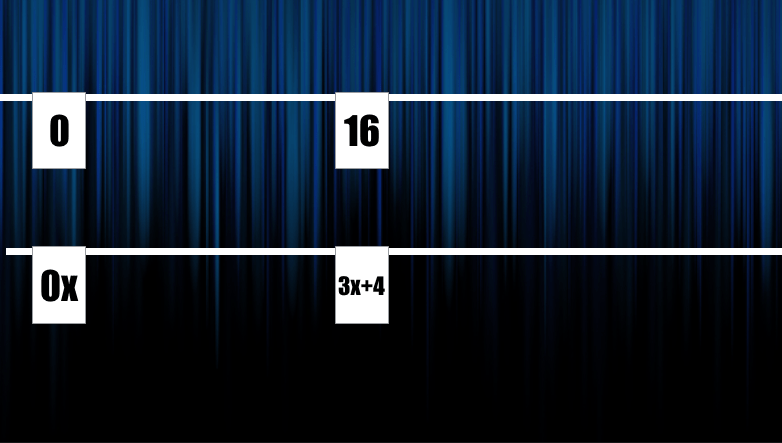
Next puzzle: I asked where to place 3x + 4…then assigned it the value of 16.

Screen Shot 2016-05-16 at 12.10.02 PM

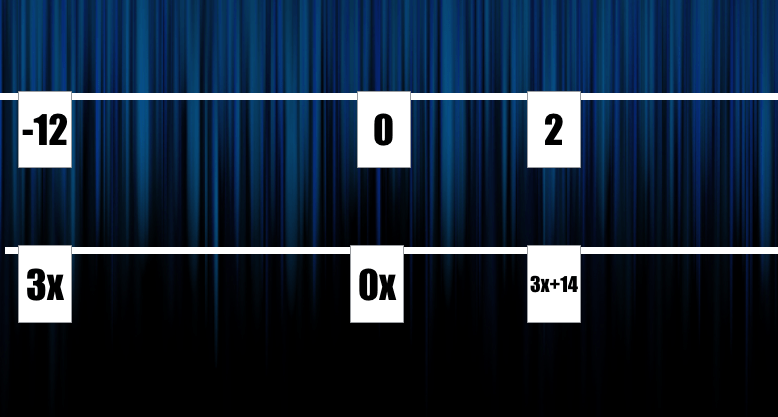
Where should 3x be placed? It was easy to see that 3x is less than 3x + 4 so it should go to the left. Now for the amazing moment! What should be the number above?

Screen Shot 2016-05-16 at 12.10.37 PM

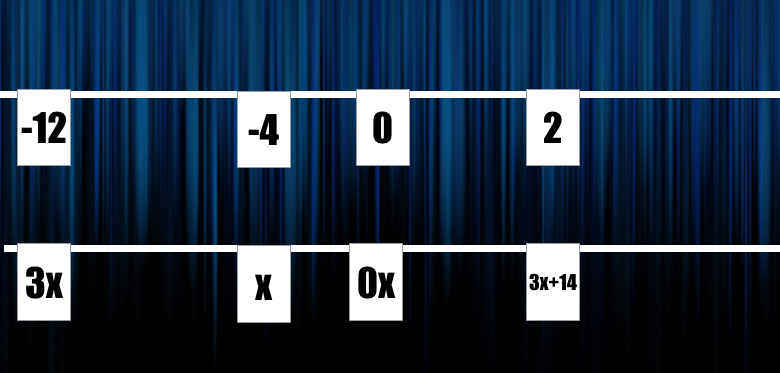
from the class an overwhelmingly 12 was shouted. So now what must be the value of x?

IMG_1159

Student: “The dividing is the easy part” We spent a few minutes here talking about why dividing 12 by 3 here makes sense.
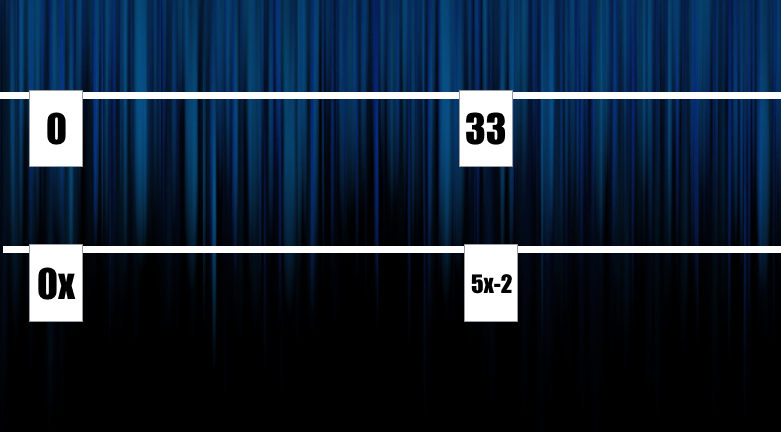
Next Puzzle:

Screen Shot 2016-05-16 at 12.11.39 PM

Where should the 5x go? At first some students had some difficulty deciding if it should go to the left or right of 5x – 2.

Screen Shot 2016-05-16 at 12.11.45 PM

Once we settled to the right. They jumped to finishing it off to determine x.

Next Puzzle:

Screen Shot 2016-05-16 at 12.11.59 PM

Where 3x should go was a discussion. We all agreed it should be 14 down…..and where would that be? This is where the clothesline (number line) feels superior and the balance scale visual falls short. We can use the bi direction of the number line to continue working with negative values.

Screen Shot 2016-05-16 at 12.12.08 PM

What was awesome during this class was this wasn’t a big deal….the number lines seems natural!!


Screen Shot 2016-05-16 at 12.14.59 PM

Also watch Andrew’s example with negative coefficients.

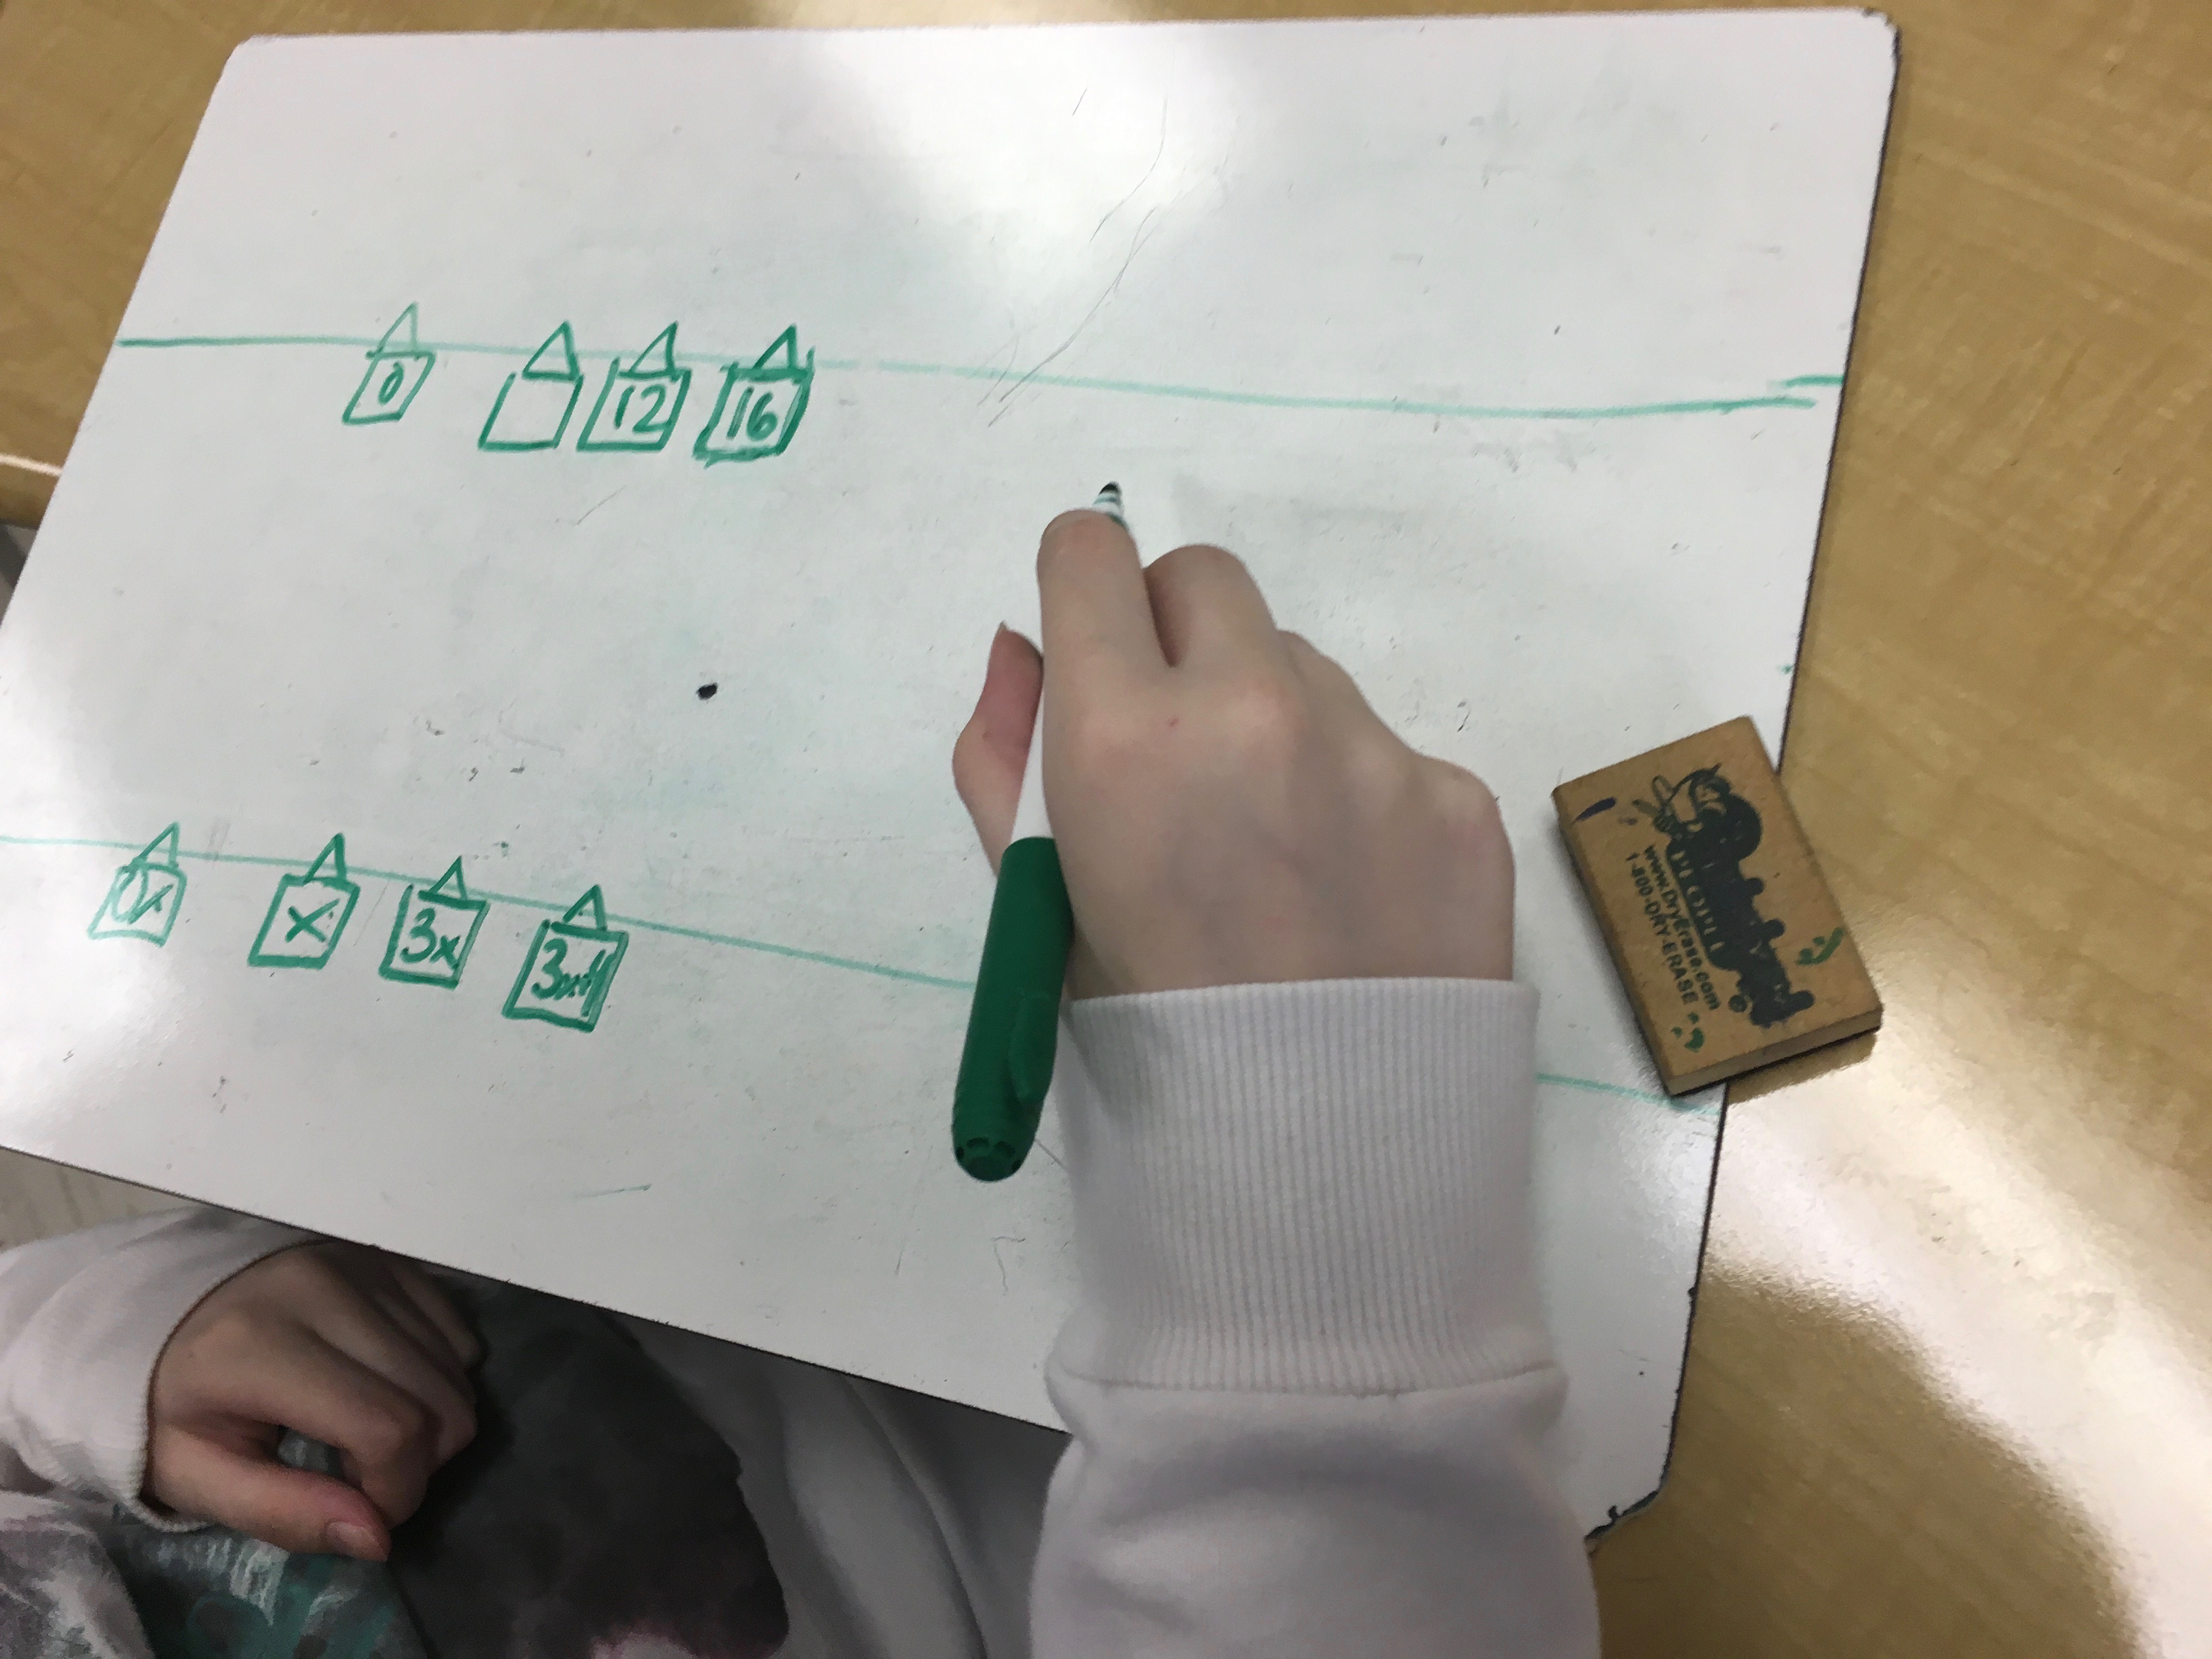
I had students practice solving a variety of equations by drawing the cards on their handout.


They finally demonstrated their understanding by creating their own equation where x had to equal 4. They put their creations up around the room for the group to solve.

IMG_1162

I feel that the number line (clothesline) method builds a lot of great number sense. We get to reinforce our inverse operations as we build from conceptual understanding to abstract. Students’ strengthen their understanding of algebraic expressions and how those expressions relate to others.

I’m now going to investigate how to to demonstrate solving multi-step equations…. 3x + 5 = 2x + 7 using the clothesline. I’m thinking this might be a difficult task. Any ideas????

[UPDATE] – Solving equations with expression on both sides.

Since this lesson my class used the double number line to solve equations like 4x + 10 = 6x + 2. It was great to keep some continuity here while we solved harder equations.

We placed each side of the equation on separate clotheslines just like before.
img_1172

We didn’t want to re-invent a new strategy….we were great at solving equations when one line was used for numbers and the other for expressions…..so we wanted that. How can we get one line to be just numbers and one to have the expression? We subtracted 4x from both lines.  Which left us exactly where we were last class!!

img_1173

and then we subtracted 2 from both to isolate the “x-term”

img_1175

Finally dividing by 2

img_1176

Boom!

This will be our method too to solve a system of equations that are both in terms of y.

More clothesline:


From Circles to Polygons

My previous attempts at teaching the sum of interior angles in a polygon with grade 9 applied students went like this:

  1. Day 1: Teach the sum of interior angles in a triangle. +practice problems
  2. Day 2: Teach the sum of interior angles in a quadrilateral. +practice problems
  3. Day 3: Use the pattern of triangles in a polygon to determine the formula for the sum of interior angles in a polygon. +practice problems.

I taught those lessons as if each is not related to the next!

Also, those lessons above had me doing most of the talking. I convinced myself that I was doing a discovery lesson with them…but I was really just showing/demonstrating to them that the angles added up to 180 or 360, etc

I wanted more doing!

Here was our progression this time around,

Day 1: Circles to Angles

I showed this gif animation (not what I really wanted but I thought it would do the job).

Rav5Q1b

Then independently I had them answer: What do you notice? and, What do you wonder? After 2 minutes they shared with their partner. After 1 more minute they shared with the class.


We used their noticing and wondering a to have a discussion on polygons, regular polygons, and acute vs. obtuse angles.

I posed the question:

“What would the interior angle be in a regular polygon if it had 20 sides, 30, 50?

I emphasized that looking for patterns can help us generalize. We set out on a path to find out what the sum of the interior angles for 3,4,5,6,7,8 sided figures…maybe we can see a pattern.
I handed out a page with 8 circles of varying sizes. Screen Shot 2016-03-08 at 8.48.46 PM

I asked them to close their eyes and randomly plop their finger down on a circle.

“We’ll start with that one”
I asked them to place a point randomly on the circumference of the circle. And then to add two more anywhere on the circle.

We connected the points up…at which time we talked about convex polygons.

img_0640
I handed out protractors. Measure the angles and write the sum inside the shape.

“How likely is it that any of drew the same triangle?”
Class: “None!”
I drew a giant triangle on the board and asked them to go up and put their sum inside the triangle.
Next they drew quadrilaterals, pentagons, hexagons, etc in the circles, measured angles, and calculated sums.


By the end of day 1 our board looked like this.

img_0642
Day 2: Looking for Patterns

We looked at the sums placed in the shapes on the board for the triangle. There were lots close to 180 but not a lot exactly 180.

They seemed to remember that 180 was important and thought that all 3 angles should add to it.

I had them cut their triangle out. Cut each corner off…and try to arrange the pieces to make a half circle.

Boom! 180 degrees. On to the quadrilateral.

They guessed that the sum of the interior angles for a quadrilateral was 360 but weren’t sure why.
I asked them to pick a point on the quadrilateral and draw 1 line to make two triangles.

We agreed that each triangle’s interior angles add to 180 and there were 2 of them…then 2×180 is 360.
I handed out a sheet to keep track of the is potential pattern.

Screen Shot 2016-03-08 at 9.01.39 PM
We added those shapes to the sheet and plotted the points on the graph.

We divided the pentagon and remaining shapes into triangles and filled out the table

We saw a definite pattern. A linear pattern.

As a class:

We found the first differences. We wrote a rule based on the number of triangles and related it to the number of sides in the polygon.

We then found the equation using the rate of change and y-intercept from the table.
We finally used the equation to determine the sum of interior angles for a 20 sided polygon…then found what the angles would be in a regular polygon.

To assess the students they completed practice problems on finding missing angles for varying shapes for the last 20 minutes while I circulated.

This course is all about patterns….use the patterns and prior knowledge to our advantage!